Half star tutorial, and how to match the binding to a design in a quilt.
I am so happy Jennifer asked me to be a part of this. I am actually surprised she asked considering I find sewing for the holidays to be difficult. Not because of the time, but because I just generally have a hard time with Christmas-y decor (or any holiday decor for that matter). And it's my FAVORITE holiday, and I SEW!! So weird, I know. But I am eternally grateful for all the times Jennifer has believed in me and that she still likes to include me in her special hops. :) (Thank you!!)
This mug rug design came from what was mentioned above. I wanted to create something that could be Christmas-y, yet something that, if was out during the year, no one would say, "Isn't that a Christmas mug rug?" And so the Half Star mug rug was born. It is simple, minimal, and looks oh-so-lovely on a table or wall.
This hop runs from Dec. 1st - 11th, and each blogger participating is sharing a tutorial! So please check out the other participants. They are going to be great! You'll need to head over to
Ellison Lane to enter to win a gift certificate to
Southern Fabric, which ends 12/14/14.
If you end up making this project, I would love to see it! #halfstarmugrug and my handle on Instagram is @owensoliviaquilts. Or share it with me on
Facebook.
Materials
Finishes 8 1/2" square.
From the green fabric (Kona Palm)
-Cut one 4 1/2" x 8 1/2" strip, two 2 1/2" squares, and one 4 1/2" square.
From the white fabric (Kona White)
-Cut one 4 1/2" square.
-Cut one 2 1/2" x 4 1/2" strip.
Binding
-Cut one 2 1/2" x WOF strip. Cut in half.
-Cut one 2 1/2" x 8" strip.
10" square of batting
10" square of fabric for backing
Small ruler
Fabric marking pen
Aurifil Mako 12 2024 for handstitching
How to
1. Sew right sides together the two 4 1/2" squares along all four sides using a 1/4" seam.
2. Cut diagonally across making an X to create four HSTs. Press seams open or to the side.
3. Trim HSTs to 2 1/2" square.
4. Layout your pieces as pictured.
5. Sew together the top and bottom two squares. Sew the two middle squares together. Press seams open.
6. Sew the two middle pieces together to create a square. Sew the top and bottom pieces next. Sew the right side piece last. Press seams open.
7. Lay your backing right side down, then your batting, and then your top face up. Quilt the pieces together. I chose to hand quilt using Aurifil Mako (love!).
How to match the binding to a design in your quilt
1. Sew together one green strip to the white strip like you normally would in making binding. Fold your binding in half around the white and green area and press. Fold the raw edge 1/4" and press with a hot iron to create a crease.
2. Lay the binding right side up matching the edge along the quilt's edge, as if it were already sewn down and flipped back over to bind on the backside of the quilt. Line up the white line perfectly, and glue baste into place by placing a dot of glue onto the quilt in the seam and heat setting with an iron. Glue basting will not damage your quilt or iron.
3. Using a ruler and marking pen, align the ruler along the diagonal line of the HST. Make a mark onto your binding. THIS IS YOUR SEAM LINE. Remove the binding (it will easily pull off with a slight yank), and open up your binding. Finish drawing your diagonal line onto the white area.
4. Place your other green binding strip like so in the photo. Pin into place, and flip the binding over, so you can see your marked line. Sew on the line.
5. Before trimming the seam to 1/4", fold the binding back into place to see if it does indeed match. It is easier to fix with extra binding than it is without it.
6. Trim the seam, and sew on the binding as normal. I use Elmer's glue to hold the binding exactly where I want it to be when sewing the binding on, and I sewed the white spot on first to get it exactly where I want it.
Merry Christmas!
xx nancy
Find me here too!
Pinterest
Instagram 1 (personal side + home decor)
Instagram 2 (quilting + sewing only)
Facebook
One year ago:
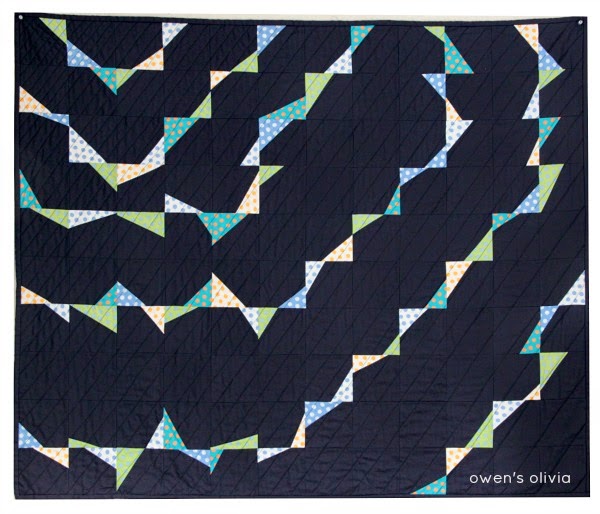
Minimalista Quilt
Two years ago:
Christmas Stocking Tutorial
Three years ago:
Christmas Dinner Recipes + Settings
My quilting book released Sept. 24, 2015 and is on Amazon.
Check it out!